Tools for Technical Presentations and Product Demos
April 13, 2021 |
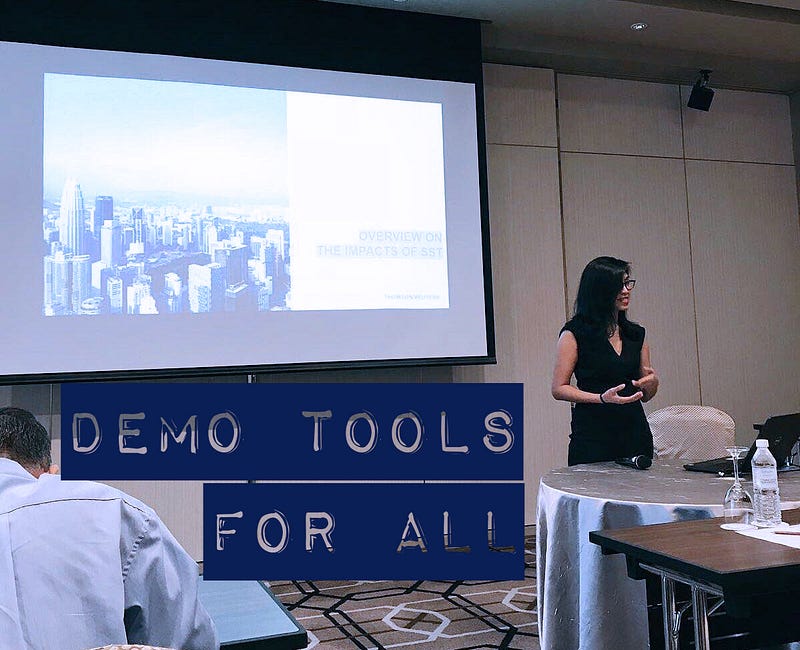
| Presenting an Indirect Tax Solution, which Malaysian-based Companies/Entities used in the recent fast-changing Tax Regime developments in Malaysia |
Note: This was originally published on my Medium and Linkedin pages on March 11, 2020. I'm cross-posting it on my blog because some people might find this useful.
Have you ever done a technical presentation that makes the audience squint their eyes as they fixate on the screen? At this exact point, they will also not be paying attention to what you are saying. How could they, when there are a million things to look at.
Since my career change from technical and into a client-facing role, I have been very conscious about where my audience’s attention go. This is why I rarely put walls of text in a Powerpoint slide. This is also why I put in the effort to make the deck aesthetically pleasing, and try to change the media every now and then when I’m presenting. Sometimes all it takes is a well-placed video clip in the middle of the presentation to wake people up.
Moving on to the Solution/System/Application demonstration portion of a technical presentation: One thing I always try to remember — and to be honest, sometimes still fail at — is the audience might not necessarily have the same background as me. Some will know more than me, yes that’s always a possibility. But when talking to a group, it’s always safer to assume that one may have zero knowledge about the screens that I will be showing. This helps me put my place in their shoes when I put together my presentation.

One great thing that I have learned is to use zoom and live annotation tools. Not only do they help in making the audience focus on the exact detail I’m showing on the screen, but it also makes the storytelling more powerful.
I have listed below the three tools I have been using in my presentations.
1. ZoomIt
This tool is FREE — I thought it would be nice to lead with that. When our laptops were refreshed at work, this is the first application that I downloaded from the Internet on my new laptop.
It is my main go-to tool when demonstrating because it has a Zoom function combined with annotation and drawing tools. It is also unobtrusive, runs on Startup, and accessible using customisable Hotkeys.
[Add-on note as of April 2021: I have been using this tool for two years now and it has not failed me. I try to use it nonchalantly, as if it's part of my presentation process, but sometimes I still get excited when I present an idea and can further emphasise it with the help of this tool. Download it!]
It currently only works on all Windows operating systems. Click here to download.
2. PointerFocus for Windows, Limelite for Mac
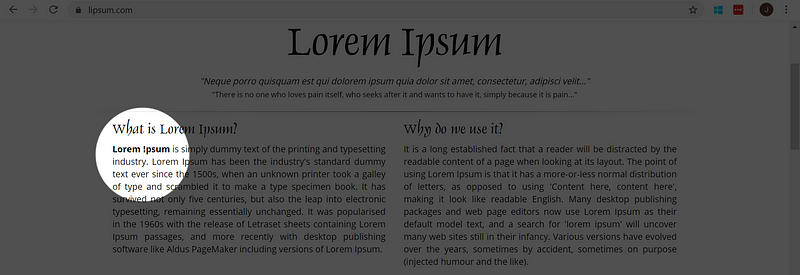
I lumped this two together because I use them for their same feature — the spotlight. I use the PointerFocus in my work laptop and Limelite for my Macbook.
 |
| The spotlight follows the mouse pointer |
A PointerFocus trial is free but every 5 minutes, a pop-up will appear saying “this is a Trial version.” That’s okay if I only want to play around with it, but for presentations in conferences or in Customer meetings, that will annoy and distract a lot of people. A one-time license key is priced at $12.50 + sales tax. I ponied up.
It has other annotation features as well, and more advanced ways of pointing something to the attention of the audience. There are preset hotkeys.
Get the tool here.
Limelite works the same way. I like how smoother its rendering is than PointerFocus, but that may be because of the Operating System’s overall better UX. (Thank you, Steve Jobs!) Unfortunately, my work requires to demonstrate systems on Windows so I can only use Limelite for my personal passion projects.
Before I forget — Limelite is FREE! Install it from here.
3. Magnifier tool (native Windows tool)
For quick magnification needs, the Magnifier tool is also a good option. It’s built-in on Windows so that means it’s free. My only problem with this tool is that the magnification has an increment of 100s— meaning from 100% (normal display), it will magnify to 200%, 300%, 400%… this goes on until 1600%.
I wish it has the option to go in between or at least give me control over the zoom. As you know, in Web Meetings there can be some lag time and a magnification with that big of an increase tends to confuse the audience even more.
Some Final Tips:
- Practice. The goal is to demonstrate without making it look like it was forced. Any zooms and annotations should come in naturally into the presentation. Practising and playing around with the tools will let you know which specific tool would make the presentations more impactful.
- Don’t go overboard using all of the tools. I usually just use one feature of one tool (usually the zoom) and when I’m trying to emphasize something important, that’s only when I use the annotations.
If you’re still reading and have been using other demo tools not mentioned here, please feel free to let me know in the Comments section! I would love to test them out!

0 comments